Friday, August 19, 2011

Cinamon Rolls


My photography skills still at the bottom level. But I'm very please with this photo.

I always wonder what it takes to be a good photographer. Last year I took the beginner Photography course, wanting to learn the basic skill for using and taking pictures with my Canon DSLR. I am no pro, still a beginner. Good photographer 'acquired' the good eye. I don't have the eye and creativity in my photos. As far as that is concerned, I need to work on my food photography and styling technique to make my photos more interesting.

Hot buns with a sticky sweet glaze and a cup of Hazelnut coffee...hmm-mmm. I like cinnamon buns, but the ones from the store or bakery are way too sweet for my taste. This recipe has just the right amount of sugar and easy to make.

Hope you all like it too! Enjoy!

Cinnamon Rolls

Sweet Yeast Dough:
4C all purpose flour
8g instant yeast
1/3C granular sugar
75g butter, room temperature
2 large eggs
1C sour cream
1tsp salt
1tsp vanilla essence

Filling:
3/4C packed brown sugar
1/2C butter, softened
2tbsp ground cinnamon (i like to add more)

Cinnamon Glaze:
1C icing sugar
1/4tsp cinnamon
1/2tsp vanilla
1-2tbsp milk

Steps:

1.   Melt butter and let cool.


2.   In a large bowl, whisk together eggs and sour cream. Let stand until room temperature, about 20 mins. Whisk in butter, salt and vanilla.
3.   Mix the dry ingredient together (yeast, sugar and flour) in the mixing bowl.
4.   Using electric stand mixer fitted with hook attachment, slowly stir in egg mixture to make soft, slightly sticky dough. Beat the dough in high speed  until dough is smooth and elastic, about 10 mins.


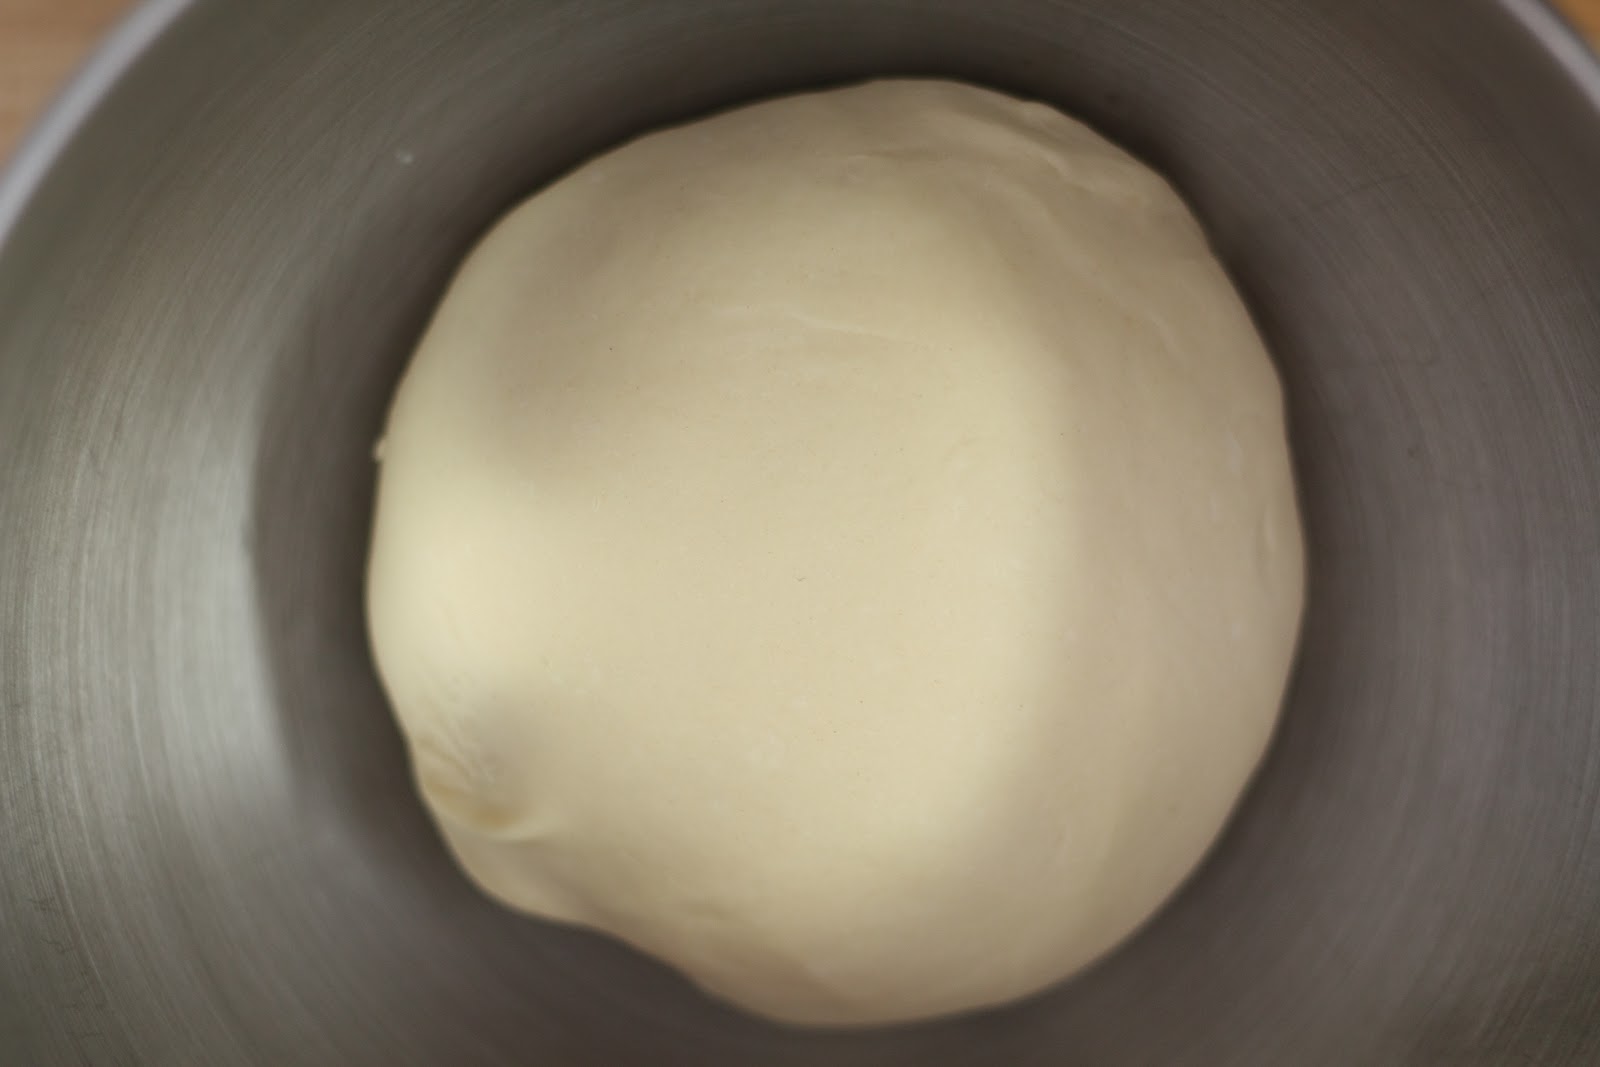
5.   Place dough in large buttered bowl; turn dough to grease all sides. Cover and let rise in warm place until doubled in bulk, 1 to 1.5 hours.
6.   Press dough to flatten. Cover and let rest for 10 mins to get rid of its elasticity.
7.   Butter a 13x9 inch metal cake pan, set aside.
8.   In bowl, mash together brown sugar and cinnamon, set aside.
9.   On floured counter, roll out dough to 12x24 inch rectangle. Spread butter evenly over dough, leave 1/2 inch border on one short end unbuttered. Sprinkle sugar mixture evenly over buttered dough. Press filling gently with metal spatula.


10.  Roll up, starting at short end opposite unbuttered end. Pinch dough to seal seam. Cut into 12 equal slices; arrange cut-side up in prepared pan.


11.  Cover with plastic wrap. Let buns rise in warm place until doubled in bulk, about 1.5 hours.
12.  Bake in centre of 375F oven for 30 mins.


Cinnamon glaze: in bowl, whisk together icing sugar and cinnamon. Wisk in vanilla and enough milk until glaze is think enough to drizzle. Drizzle over warm buns for a glazed look. For visible drizzle look, let buns cool before drizzling.

To make sticky-top cinnamon buns: while dough is resting, before filling and rolling, heat 3/4C butter with 3/4C packed brown sugar in saucepan over medium heat, whisking until no longer granular. Pour into buttered baking pan. Arrange cut buns evenly over sugar mixture. Bake as directed. Remove from oven and turn out onto rack positioned over rimmed baking sheet or tray. Leave, bottom side up. Scrape any syrupy goo from the bottom of the pan over the buns. Omit cinnamon glaze.


Tuesday, August 16, 2011

Oreo Cookies


Who doesn't like Oreos? We all love Oreos, the only different is everyone have their own way of eating Oreos, what is yours? Twist it open, lick the cream, dip it in the milk... Whatever way you choose, there is no correct way of eating it.

Oreos and milk make the perfect couple. Now, I'm enjoying my oreos and a cold glass of milk…nom, nom, nom.

Enjoy!


Homemade Oreos

You'll need:
2 & 1/2 C all-purpose, unbleached flour
1/2 C dutch-process cocoa

1/2 tsp coarse salt
1 C unsalted butter
1 C sugar
1 egg
1 tsp vanilla


Steps:

Preheat oven to 350. Line baking sheets with parchment paper.

Whisk together the flour, cocoa, and salt; set aside.

Cream together the butter and sugar until light and fluffy. Beat in the egg and vanilla until well combined.

In 3 additions, add the flour mixture at low speed. Scrape down sides and bottom of bowl as needed.


Roll the dough on a lightly floured and cocoa-ed surface. (I mixed the 2 of these, then spread on my rolling surface, on my rolling pin, and used it to dip my cookie cutters.)

Cut the cookies with a cookie cutter, freeze cut cookies for five minutes.


Bake 8-10 minutes. Let cool completely.


Cream Filling


2 tsp unflavored gelatin powder
2 tbsp cold water
1/2 C shortening
1 tsp vanilla
2 &1/2  powdered sugar

Combine the gelatin and water in a small bowl or cup.  Place the cup into a larger bowl of hot water and leave it there until the gelatin is completely dissolved and liquid transparent.

Remove the cup from the hot water and let the liquid cool to room temperature, but hasn't begun to set...about 5 minutes.

Meanwhile, in a medium bowl, beat the shortening with a paddle attachment until fluffy.  Beat in the vanilla.  Add the sugar a little at a time, beating until the mixture comes together.  Scrape the bowl as needed.  Beat in the gelatin.  Use immediately, or store, well-wrapped at room temperature.


To make the sandwiches, flip one cookie over.  Make a teaspoon-sized ball of filling and place on upside-down cookie.  Press another cookie, right-side-up, down on top of it.


Monday, August 15, 2011

A pinch of... rosemary


Never thought I’d like to have herbs in my baking. One day, my co-worker offered us – Rosemary cookies. I gave her a disgust face expression. After trying, I actually like the buttery taste with rosemary fragrant.

Rosemary is a popular herb that can be found in many culinary as seasoning or ornament.

Here, my very first dessert with herbs – Rosemary Butter Cookies. Again, this is another simple recipe to try.

Enjoy Baking!

Rosemary Butter Cookies
adapted from Martha Steward

You'll need:

1 C unsalted butter, softened
3/4 C granulated sugar
1 large egg
1 tsp pure vanilla extract
2&1/2 C sifted all-purpose flour
1 tbsp finely chopped fresh rosemary
3/4 tsp coarse salt

Steps:
Put butter and granulated sugar in the bowl of an electric mixer fitted with the paddle attachment; mix on medium speed until pale and fluffy, about 2 minutes. Mix in whole egg and vanilla. Reduce speed to low. Add flour, rosemary, and salt, and mix until combined.


Halve dough,  shape each half into a log. Place each log on a 12-by-16-inch sheet of parchment. Roll in parchment to 1 1/2 inches in diameter, pressing a ruler along edge of parchment at each turn to narrow log. Transfer to paper-towel tubes to hold shape, and freeze until firm, about 1 hour.


Preheat oven to 375.

Cut into 1/4-inch-thick  and space 1 inch apart on baking sheets lined with parchment. Bake until edges are golden, 18 to 20 minutes. Let cool on sheets on wire racks. Store.


Note: Whenever possible, choose fresh rosemary over the dried form of the herb since it is far superior in flavour.


Thursday, August 11, 2011

#1 favourite - Lemon Tart


If I would have to pick my favourite pastry, this is it… my number 1 favourite pastry – Lemon Tart. I think I have baked half a dozen of this tart, and still counting. This recipe is actually very simple.

Did I mention I love yellow? Yeah! My favourite tart happened to be yellow? or, I like it because it is yellow? Whatever!

You sure will love it, too!


Lemon Tart
adapt from Not So Humble Pie

You'll need:

1/2 C unsalted butter
2 tbsp finely grated lemon zest
1&3/4 C all-purpose flour
1&1/4 C granulated sugar
2 pinches of salt
6 large eggs
1 C fresh lemon juice
1/2 C heavy cream
Confectioners' sugar for dusting


Steps:

Preheat your oven to 350°F and position a rack in the lower third of the oven.

Melt the butter in a small sauce pan over medium low heat. Stir in one tablespoon of the lemon zest and allow to stand for 5 minutes. Combine the flour, 1/4 cup of the sugar and a pinch of salt in a bowl or your food processor. Pour the butter into the bowl in a fine stream, mixing with a fork until well blended and it holds together when pinched. If using a food processor, blend the ingredients and then pour the butter into the feed tube and blend for roughly a minute.

Empty the mixture into an 11" tart pan with a removable bottom and press it with your fingertips to evenly line the sides and bottom.


Bake the crust for 20 minutes, or until it is a light golden brown. Allow the crust to cool on a wire rack while making the filling.

Process the remaining one cup of sugar with the remaining one tablespoon of lemon zest in your food processor for about 2-3 minutes, until the zest is finely ground.

Pour the sugar into a bowl and add the eggs, lemon juice and a pinch of salt and whisk until smooth.

Beat the 1/2 cup of heavy cream to soft peaks and then whisk the cream into the sugar/egg mixture until just blended. Pour this mixture into your still warm crust and bake for 20-30 minutes, until the filling is just set in the center.


Allow the tart to cool completely.

Just before serving, dust generously with powdered sugar, cut into wedges and enjoy.


Happy Baking! 

now you see...
...now you don't!