Showing posts with label cookies. Show all posts

Tuesday, August 16, 2011

Oreo Cookies


Who doesn't like Oreos? We all love Oreos, the only different is everyone have their own way of eating Oreos, what is yours? Twist it open, lick the cream, dip it in the milk... Whatever way you choose, there is no correct way of eating it.

Oreos and milk make the perfect couple. Now, I'm enjoying my oreos and a cold glass of milk…nom, nom, nom.

Enjoy!


Homemade Oreos

You'll need:
2 & 1/2 C all-purpose, unbleached flour
1/2 C dutch-process cocoa

1/2 tsp coarse salt
1 C unsalted butter
1 C sugar
1 egg
1 tsp vanilla


Steps:

Preheat oven to 350. Line baking sheets with parchment paper.

Whisk together the flour, cocoa, and salt; set aside.

Cream together the butter and sugar until light and fluffy. Beat in the egg and vanilla until well combined.

In 3 additions, add the flour mixture at low speed. Scrape down sides and bottom of bowl as needed.


Roll the dough on a lightly floured and cocoa-ed surface. (I mixed the 2 of these, then spread on my rolling surface, on my rolling pin, and used it to dip my cookie cutters.)

Cut the cookies with a cookie cutter, freeze cut cookies for five minutes.


Bake 8-10 minutes. Let cool completely.


Cream Filling


2 tsp unflavored gelatin powder
2 tbsp cold water
1/2 C shortening
1 tsp vanilla
2 &1/2  powdered sugar

Combine the gelatin and water in a small bowl or cup.  Place the cup into a larger bowl of hot water and leave it there until the gelatin is completely dissolved and liquid transparent.

Remove the cup from the hot water and let the liquid cool to room temperature, but hasn't begun to set...about 5 minutes.

Meanwhile, in a medium bowl, beat the shortening with a paddle attachment until fluffy.  Beat in the vanilla.  Add the sugar a little at a time, beating until the mixture comes together.  Scrape the bowl as needed.  Beat in the gelatin.  Use immediately, or store, well-wrapped at room temperature.


To make the sandwiches, flip one cookie over.  Make a teaspoon-sized ball of filling and place on upside-down cookie.  Press another cookie, right-side-up, down on top of it.


Monday, August 15, 2011

A pinch of... rosemary


Never thought I’d like to have herbs in my baking. One day, my co-worker offered us – Rosemary cookies. I gave her a disgust face expression. After trying, I actually like the buttery taste with rosemary fragrant.

Rosemary is a popular herb that can be found in many culinary as seasoning or ornament.

Here, my very first dessert with herbs – Rosemary Butter Cookies. Again, this is another simple recipe to try.

Enjoy Baking!

Rosemary Butter Cookies
adapted from Martha Steward

You'll need:

1 C unsalted butter, softened
3/4 C granulated sugar
1 large egg
1 tsp pure vanilla extract
2&1/2 C sifted all-purpose flour
1 tbsp finely chopped fresh rosemary
3/4 tsp coarse salt

Steps:
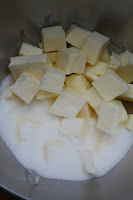
Put butter and granulated sugar in the bowl of an electric mixer fitted with the paddle attachment; mix on medium speed until pale and fluffy, about 2 minutes. Mix in whole egg and vanilla. Reduce speed to low. Add flour, rosemary, and salt, and mix until combined.


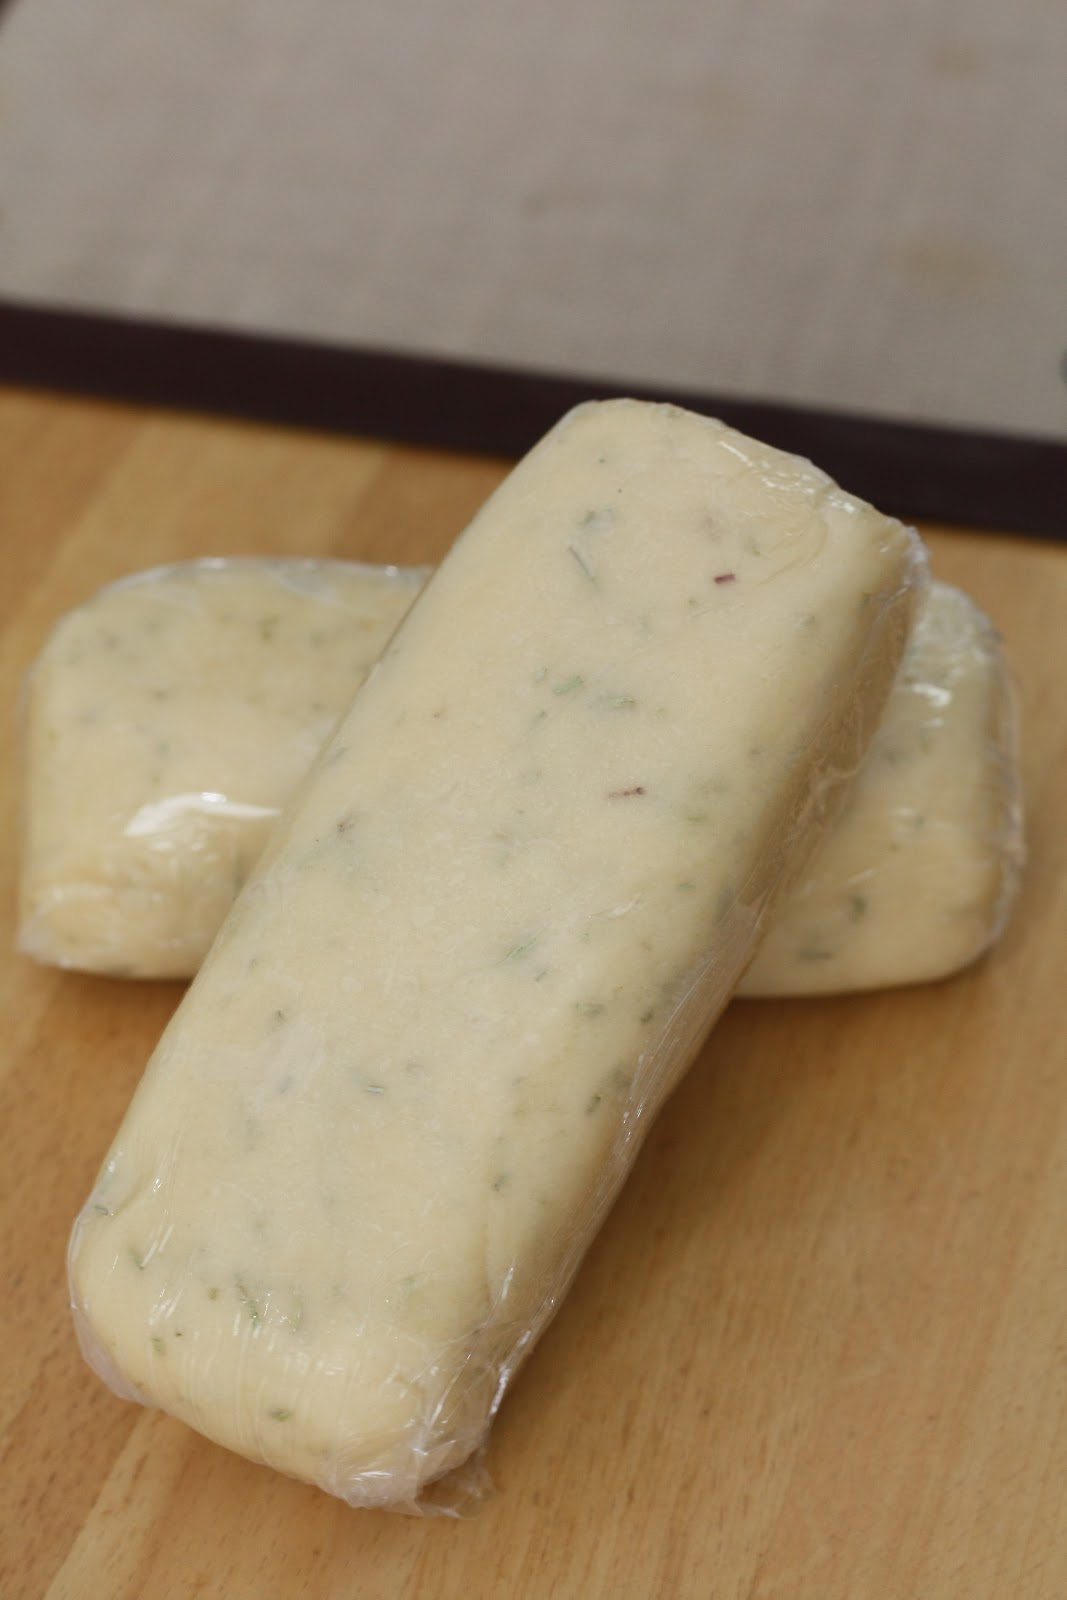
Halve dough,  shape each half into a log. Place each log on a 12-by-16-inch sheet of parchment. Roll in parchment to 1 1/2 inches in diameter, pressing a ruler along edge of parchment at each turn to narrow log. Transfer to paper-towel tubes to hold shape, and freeze until firm, about 1 hour.


Preheat oven to 375.

Cut into 1/4-inch-thick  and space 1 inch apart on baking sheets lined with parchment. Bake until edges are golden, 18 to 20 minutes. Let cool on sheets on wire racks. Store.


Note: Whenever possible, choose fresh rosemary over the dried form of the herb since it is far superior in flavour.


Tuesday, January 4, 2011

A cure for homesickness - Kuih Bangkit


Moving halfway across the globe only to find that I'm homesick for many nyonya foods and desserts that I don't usually eat when I was there. Though we can still find Malaysian restaurant here, but there is a serious lack of decent nyonya kuih.

After moving here, I have learned to make some of my favourite nyonya kuih - angku kuih, kuih talam, kuih ubi kayu (cassarva), kuih dadar. DIY is the only way to ease my craving. If I were still in Malaysia, I don't think I even bother to learn, because we are surrounded with authentic nyonya foods and desserts.


If you are Malaysian or Singaporean who has been here for many years, you may not remember the name of this cookie, but I'm sure you won't forget the taste of this cookie. Many of our friends who have been here for many decades recall this cookie as one of the Chinese New Year cookies. Kuih Bangkit is known with its light, crispy and melt in the mouth texture. You sure will find it in every house that you visit. There are many Chinese New Year cookies that I like, one of my favourite is this one.


Kuih Bangkit


350g Tapiaco flour
350g Sago flour
3 egg yolks
200g icing sugar
6-8 pandan leaf
extra tapioca flour for dusting and kneading


  1. Fry tapiaco flour and sago flour together with pandan leaves on low heat until light. Let cool.
  2. Preheat oven to 350F.
  3. Whisk the egg yolks and sugar until thick. Add in the flour.
  4. Slowly add the coconut milk, knead until smooth but not sticky dough formed.
  5. Roll dough into a thin sheet. shape thin sheet with a cutter.
  6. Bake for 20 minutes.


If store in an airtight container, these cookies will last for at least 2 months. Mine didn't last that long, for our guest who tried it for the first time love it very much, so I doggy bag some for them to take home, and Tony finish up the rest while watching hockey games.  


Friday, December 31, 2010

Lots of kisses


I wasn't supposed to bake today. Early this week I visited the ER twice. And I promise Tony I will rest and stay away from kitchen.

We are hosting the new year eve party at our house tonight. And I just can't sit there do nothing. Without Tony knowledge, I did three desserts for tonight. One of which is this Chocolate Meringue cookies.

This is my second attempt of making this cookies. I did a silly mistake on my first attempt by wrongly convert the required temperature to Celsius. I doubled the required temperature. Ouch! Guess what happen? Less than half an hour, my whole house smell burn... it takes two days to completely clear the burn smell in the house.

I love meringues cookies, it's light and crispy. They are easy to make, no complicated ingredient.

Happy baking!


Chocolate Meringues Cookies
adapted from Martha Steward

4 large egg whites
1 c sugar
pinch cream of tartar
1/2 tsp vanilla extract
1/4 c unsweetened cocoa powder (I recommend using extra dark cocoa)

  1. Preheat your oven to 175°F. (Yes, you didn't read wrong, it is very low temperature. I screwed up the first time as I read the temperature in Celsius. )
  2. Prep a pastry bag with a large star tip. Line 2 baking sheets with parchment or silicone baking mats.
  3. Combine the egg whites, sugar and cream of tarter (you can omit the cream of tartar if using a copper bowl) in a large heatproof bowl set over a pan of simmering water. Whisk constantly over the water until the sugar has dissolved and the mixture is warm to the touch (about 3-4 minutes).
  4. Remove from heat and beat the whites with a hand mixer or your stand mixer, starting on low speed and gradually increasing until stiff, glossy peaks form.
  5. Add the vanilla and mix to combine.
  6. Sift the cocoa over the meringue to break up any lumps and then fold until no streaks remain. Add the mixture to your pastry bag and pipe rows of quarter sized meringues onto the pans.
  7. Bake for 2 hours, until they lift from the pan easily. Allow to cool completely.
  8. To sandwich, melt a few ounces of your favorite chocolate and fill a zip top bag. Cut a small opening and pipe small blobs of chocolate onto each cookie. Given their awkward shape, this is best done with the meringues upside down on a baking rack. Allow the chocolate to cool for about 10 minutes and then top with a second cookie. Allow the filled cookies to sit for a couple hours or until the chocolate has set completely and then store in an air tight container for up to 2-3 days.


Goodbye 2010, Hello 2011!

Thursday, December 9, 2010

More holiday baking


I know I made some festive cookies for the holiday already, well, what better time to have more festive cookies than Christmas time? The more the merrier.

Shortbread is one of my favourite cookies. Luckily, it is one of the easiest cookies to make and one of the most versatile.

The other day at the office, I get to tried shortbread made from oat flour. And I learned about the origin of shortbread was from Scotland and recipe included oat flour then the English adopted it. In the beginning shortbread was expensive and reserved as a luxury for special occasions like Christmas, Hogmanay (Scottish New Year’s Eve), and weddings. Through the years it developed into an everyday favorite and is now enjoyed all around the world.

Traditional shortbread consisted of three main ingredients: flour, sugar and butter. Today many varieties of shortbread exist, but most still include the traditional ingredients. The type and texture of the dry ingredients greatly influences the consistency of the shortbread. The secret of making good shortbread is to use only high quality butter and pure vanilla extract.


They look very festive during Christmas time with the red strawberry jam poking  through the cut out.

When making sandwich cookies, make sure the cookies are all the same size because if the cookies are different sizes they don't fit together perfectly and the filling will leak out. Also, do not overfilled the cookies with jam, as you want just enough jam to hold the cookies together.

For the cookies, I used this recipe. 

For the filling*:
1/4 c of strawberry jam (or any fruits jam or preserves)
1 tbsp water**

To assemble cookies:
On the bottom surface of the full cookie, drop 1/2 tsp of jam onto the center of the cookie. Place the cut-out cookie on top and gently sandwich them together. If you like to have more jam, fill the cut-out with a little more jam.


Note:
* Make sure your jam or preserve is properly set, not too runny, not too solid.
**Skip the water if the jam or preserve has the right consistency. Only add water if the jam/preserve is solid.


Saturday, December 4, 2010

Politically correct recipe: Gingerbread people


"Care to have a piece of gingerbread man? Oh, no. I mean gingerbread person."

Gingerbread men being re-named to gingerbread people?

The gingerbread man's gender has come under threat from political correctness. People these days are trying hard to be politically correct. I guess the intention is to not offence anyone. For these yummy goodies, I doubt most people could care either way whether they are gingerbread people, gingerbread men, ginger women, gingerbread person, as long as THEY taste good.

Is gingerbread man name changed really important? Neh!

I don't usually like gingerbread man, but I gotta tell you, I fell in love with this man. They are soft and wonderfully fragrant with the flavors of molasses, ground ginger, cinnamon, and cloves. I just cannot resist, they are yummy…

Gingerbread men cookies

Ingredients:

2 1/2 c all purpose flour, spooned and leveled
1 tsp baking soda
1 tsp ground ginger
1/2 tsp ground cloves
1/2 tsp cinnamon
1 tsp coarse salt
1 c unsalted butter, room temperature
3/4 c granulated sugar
1 large egg
1/4 unsulphured molasses

Steps:

1. In a medium bowl, whisk together flour, baking soda, ground ginger, ground cloves, cinnamon and salt.
2. In the bowl of your electric mixer (or with a hand mixer), with the paddle attachment, beat butter and granulated sugar on medium-high speed until light and fluffy, about 3 minutes. Add egg and molasses and beat to combine, scraping down bowl as needed. 3. With mixer on low speed, gradually add flour mixture and beat until incorporated. Wrap dough in plastic wrap and refrigerate until firm, 1 hour (or up to 3 days).
4. Preheat oven to 350F.
5. On a lightly floured work surface, roll out dough to a 1/4 inch thickness. Cut the dough with gingerbread cutter. 
6. Arrange cut out dough 1 inch apart, on two parchment-lined baking sheets.
7. Bake for about 10 to 12 minutes depending on the size of the cookies. Let cool completely on wire racks.

Store cookies in airtight containers, up to 1 week.


There are many ways to decorate gingerbread. Kids like colored royal icing. For royal icing recipe:

2 tbsp meringue powder
1 lb powered icing sugar
5-7 tbsp water

In the bowl of your electric mixer, beat the icing sugar and meringue powder until combined. Add the water slowly and beat on medium to high speed until very golssy and stiff peak, for 7 minutes.
To cover or 'flood' the entire surface of the cookie, the proper consistency is when you lift the beater, the ribbon of icing that falls back into the bowl remains on the surface for a few seconds before disappearing.
Cover the icing with plastic wrap when not in use. Royal icing get harden when exposed to air.
Note: If the icing is too running, add more icing sugar. Add more water if the icing is too stiff.

Make about 3 cups.


Engineer @ work


As we enter the festive month of December, everyone is taken by the Christmas spirit. The tree is up, the lights are aglow, and the air is filled with gingerbread smell.

V and I decided to do something special -  gingerbread house challenge! 

On Tuesday, we have lunch with two other girls. We were talking about the gingerbread, JT already started her gingerbread man last week. She already been baking over I-don't-know how many dozens of gingerbread man. V threw a question, is gingerbread an evil one? That's why we eat them? We have a good laugh but we have no exact answer for that. hmm...I never thought of how and when the gingerbread man started? I always think it has something to do with the fairy tale: Hansel and Gretel story.

I went to JH, cuz he's our go-to guy. He has no answer too.

Regardless of what's the story behind the gingerbread man, V and I already in gingerbread action mode!

Checking the list twice! We are ready to rock!


Don't yell! I know, I know. We cheated. We got the Gingerbread House Kit :P
This kit comes in everything you need, pre-baked roof and wall, candies, icing.

Check out our work in progress:

foundation is laid, walls are built up...   

roof is installed just before snow dumped...

snow storm hits our construction site...roof all covered up by snow.

With a little helping hand, our project is able to finish on time. 

For the finishing touch, V did some lanscaping around the house. I just love these trees. They are cute and yummy.

 Ta-da! Our very first housing project. 

This project is designed by, V.L, P.E and supervised by A.K., P.E.