Showing posts with label gluten free. Show all posts

Saturday, August 2, 2014

Nyonya Kuih - Kuih Talam


Kuih Talam is one popular nyonya kuih in Malaysia and Singapore.

When something is rare, it becomes precious (物以稀為貴). I am totally agree! Before moving to Canada, I never appreciate nyonya desserts. Now, I started to miss those colorful desserts, not only you can't find it here, even if you find it, it's so expensive.


One way to ease my craving is DIY!


This recipe is modified from Patricia Lee - Delicious Nyonya Kueh & Desserts

Ingredients:

(A)  Green Bottom Layer

50g      rice flour
120g    cornflour
150g    sugar
400ml  coconut milk
350ml  water
350ml  pandan water


(B)  White Top Layer

30g     mung bean flour
120g   cornflour
150g   sugar 
400ml coconut milk
900ml water
a pinch of salt

You will need:

8" square tray and steamer


Steps:

Bottom layer:
1.  Heat sugar and water in a saucepan until sugar dissolves completely. 
2.  Mix coconut milk with cornflour and rice flour. Add pandan water and stir well. Pour this coconut mixture into the sugar syrup (1). Cook over low heat until batter thickens slightly.
3.  Pour into the square tray and steam for 15 minutes. Open steamer lid half way through.


Top layer:
1.  Heat sugar, salt and water in a saucepan until sugar dissolves completely. 
2.  Mix coconut milk, cornflour, mung bean flour together and stir well. Pour this coconut mixture into the sugar syrup (1). Cook over low heat until batter starts to thicken. Stir continously while heating. 
3.  Pour the batter over to the green layer. Steam with the lid covered for 20 minutes. Open the steamer lid half way through.
4.  Set aside to cool. Chill in the fridge for 4-5 hours. 


Happy Baking!


Note:  I try to avoid using artificial food colouring as much as possible. If I can get natural color from plants or fruits, I would stay away from food colouring. The green layer is pandan leaves juice, no color enhancement added. 


Sunday, July 27, 2014

Silver Needle Noodles (老鼠粉/銀針粉/米苔目)


After church, we went to our favourite HK style cafe for lunch. Mom ordered a stir fry silver needle noodles, she gave me a small bowl to tried. As I was eating the noodle, I know what we're going to have for dinner *hehe*

Tonight dinner is one of my favourite comfort food - homemade lao shu fen (Silver Needle Noodles).


Recipe adapted from ShoonYin Home Cooking 

Ingredients:

2 cups rice flour
1/4 cup tapioca flour
1/4 cup Potato starch
200 ml boiling water
175 ml water (room temperature)
2 tbsp oil

You will need a potato ricer:


Steps:

1. Mix rice flour, tapioca flour and potato starch together into a big bowl.
2. Add in boiling water. Mix well. Keep on stirring till it becomes a paste.
3. Add in normal water to cool down the paste.
4. Add in oil and knead to a smooth paste.


5. Boil water in a pot. Place a grater or an improvised coconut strainer or potato ricer as above picture on top.
6. Pour the rice paste on to the strainer and press . When the paste falls through the holes, it becomes rice noodles. 
7. Scope up immediately when the rice noodles float. Set aside to cool.


Happy Cooking!


Saturday, June 7, 2014

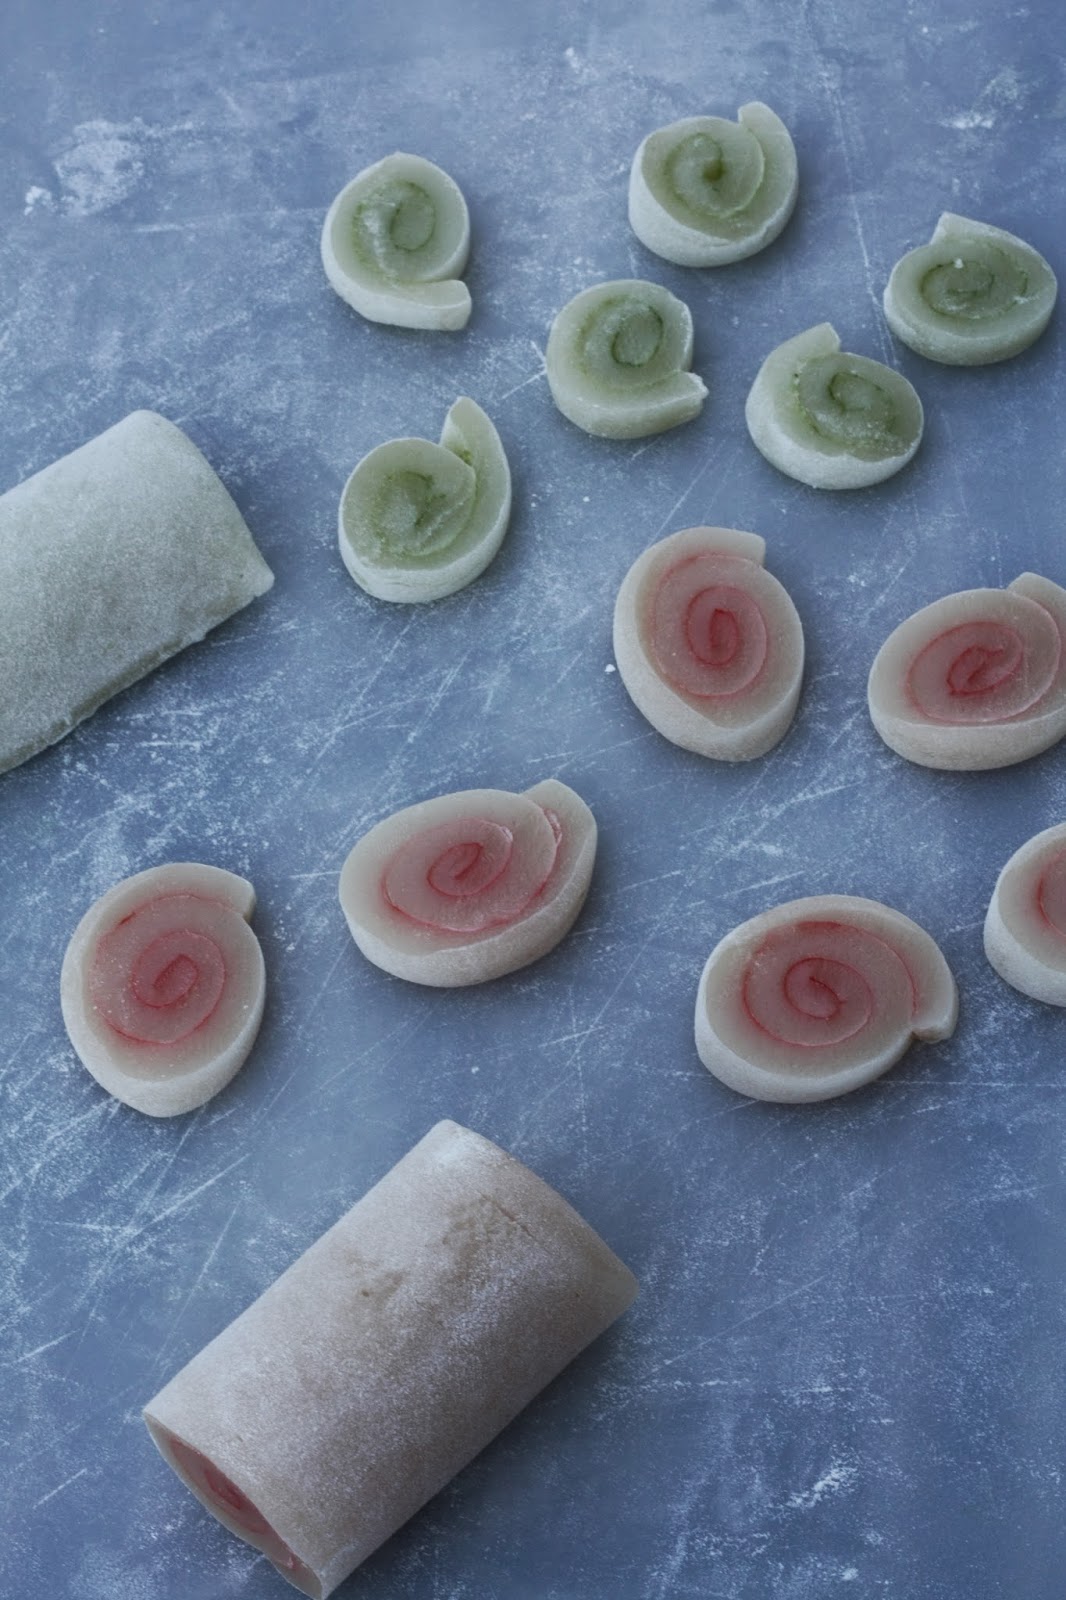
QQ 軟糕


記得小時候老爸最喜歡買軟糕回家。小時候不怎麼喜歡, 嫌它太甜。已經n年沒有再看到這種甜點,卻在一次網上閒逛的時候看到,第一個反應是--老爸的最愛!

其實一點難度都沒有,超簡單的,超開心。自己做的,軟軟黏黏,又不太甜,又美。老爸看到也很驚訝 :)


食谱来自吉米丽の快乐厨房小天地或all mum recipe


米漿材料: 
150g   糯米粉 (glutenous flour)
40g     澄面粉/小麥澄粉 (gluten free flour)
15g     木薯粉 (tapioca flour/starch)
115g   细砂糖 (superfine sugar)
180g   水 (water)

材料:
1tsp    玉米油/植物油 (oil)
10g    熟糯米粉
数滴色素加少许水备用


做法: 
         1.        把粉料过筛入一个干净的搅拌盆里,加入所有的材料,搅拌至糖溶解。
         2.        將蒸鍋先預熱。
         3.        烤盘涂抹油 (2個7"x 7" 或者蒸發兩次),倒入适量的米浆;放进蒸锅里蒸约15 - 25 分钟(不粘手),即可取出。
4.        在工作台上撒上适量的熟糯米粉, 面皮摊放,涂抹上适量的色素, 由上往下卷起。用刀切成片状即可。 


          Note:
          熟糯米粉: 干锅小火炒糯米粉 5分钟备用


Happy Baking!


Saturday, April 6, 2013

GF (gluten free) peach crepe

my poor baby is allergic to wheat. sadly, he is missing a lot of good stuff out there. if you check the label carefully, you will realize, 9 out of 10 products contained wheat. from breads to noodles, from chips to ice cream cone, from nuggets to soy sauce... it is difficult to find foods that do not contains wheat.

because of that, our family start to eat pretty healthy. it's hard to live 100% wheat-free living, but we certainly can live without wheat since there are so many healthy alternates. asian do not depends very much on wheat anyway. i recalled my childhood years, we don't exposed to a lot of wheat like we do now, we don't eat bread everyday, i never had ravioli when i was at his age, i'll be lucky if i had burger twice a year. we had kuih muih, agar agar, rice ball, etc. all these are made from glutinuous rice flour and plain rice flour. wheat we have today isn't the same wheat our grandparents had. modern wheat is genetically modified, it does more harm than good to our body, just this reason, i think we should stop eating wheat...

on weekend, he likes to order something different for breakfast. today, i decided to make him - GF peach crepe. golden crepe with peach and top with maple syrup. ooh, i love it, i make one for myself and we both enjoy it together. tho it's gf flour, it tastes just the same like regular crepe. i'm no picky eater, so i don't mind.

very simple ingredients:

1/2C GF all purpose flour
1 egg 3/4C milk
sliced peaces
maple syrup to taste

note: there are many GF flour in the market. i used Bob's Red Mill GF all purpose baking flour

enjoy!


Sunday, February 19, 2012

Homemade Marshmallows


Homemade marshmallows are nothing like the store bought marshmallows. Homemade marshmallows are so perfectly light and springy. They just melt in your mouth.

Tossed a few homemade marshmallows into a cup of hot chocolate or coffee. Mmmmm...perfect!


Homemade Marshmallows

 
Ingredients:

3 packets unflavored gelatin
1 cup cold water
1 1/2 cups granulated sugar
1/4 cup confectioner sugar
1/4 cup corn starch
1 cup light corn syrup
1 tsp vanilla
cooking spray


Steps: 

Coat a 9 x 13 baking pan with nonstick spray.

In a small bowl, combine the corn starch and confectioner sugar. Sprinkle some of the mixture into the pan and set the rest aside for later. Shake the pan around so that the mixture completely coats it. Pour the excess sugar mixture back into the bowl.


Combine the gelatin and half of the water in the bowl to allow to bloom. Set aside.


In a small saucepan set over medium high heat, combine the remaining water, sugar, and corn syrup. Cook for 4 minutes. Place a candy thermometer on the pan, and continue cooking until the mixture reaches 240 degree, about 8 minutes.


Remove the thermometer. With the mixer on low speed, pour the candy mixture into the bowl. Slowly increase the speed to high, being careful to prevent splatter. Whisk on high for 10 minutes, adding the vanilla towards the end of the process.


Using a spatula sprayed with cooking oil, transfer the fluff to your prepared pan. Generously coat your hands with remaining starch/sugar mixture and press the fluff into the pan until it's evenly distributed. Allow the marshmallows to sit in the pan for everal hours or overnight.


After the marshmallows have set up, remove them from the pan, and place them on a cutting board, or countertop, lightly dusted with the starch/sugar mixture. Using a pizza wheel, cut strips into the marshmallows. Periodically dust your wheel, as needed. After cutting the marshmallows into strips in one direction, cut them into cubes by crosscutting in the opposite direction. Pull apart the cubes, tossing them in the sugar mixture to coat them.


~*~*~*~*~*~*~*~*~*~*~*~*~*~*~*~*~*~*~*~*~
Happy Baking!