Thursday, September 29, 2011

Happy Bird-day Cake


My darling is turning 5 this month! Many moons ago, he already requested an angry bird cake for his birthday. After much googling, I found some really nice angry bird pictures. I downloaded the pictures onto my iPad.

Making this cake was nothing but time consuming! Can you believe, I took Friday off from work, just to work on the cake. After running some errands in the morning, I start working on mixing the colors. Getting the right color is actually harder than making the bird itself. After getting all the color I need for the birds, I call it a day.

I spend my Saturday baking and making birds. We are hosting a BIRD-day party for him on Sunday. This weekend I baked a total of 4 cakes and a kuih talam. Good thing we do catering, if not we'll have just cake party. If you know me well, you know I can't cook  :(( I like to bake, but I don't like to cook.

The cake was actually completed 30 minutes before our guest arrived. Not only I was pleased, all of our guest were impressed! After all the hard work, I deserve the compliments :))) **pat myself on the shoulder**


HAPPY BIRTHDAY, DARLING!


Things that you'll need:

Fondant
Gumpaste
Foodwritter (edible marker)
Color, lots of color
Pictures
iPad, optional.


Meet the casting crew


Happy BIRD-day!!!


Saturday, September 10, 2011

Green Tea Snow Skin Mooncake


Mid Autumn Festival also known as Mooncake Festival is one of the biggest celebration the Chinese around the world celebrates on the 15th day of the eighth month in Chinese Lunar calendar. Tonight our neighbour invited us over to celebrate in their front yard. They decorated their yard with lanterns and served light snacks, of cos the main snack is mooncake.

Mooncake is a Chinese confession that is traditionally eaten on this day. Last year I made the traditional baked mooncake packed with salted egg yolk. This year I make this Green Tea Snow Skin (ping-pi) Mooncake. Unlike traditional mooncake, ping-pi mooncake is bake-free. And the most important, it's easy to make. To make things even easier, you can use the canned red bean paste or lotus paste. I actually made the red bean paste myself but I couldn't find the photos :`(  


Green Tea Snow Skin Mooncake

Skin:
240g icing sugar
40g shortening
200ml warm water
120g cooked rice flour (or fried glutinous rice flour)*

Filling:
Red bean paste/Lotus paste


Steps:
Mix icing sugar with shortening. Add in water and mix well. Then add the cooked rice flour and mix well. Set aside for 5-8 mins.

Divide snow skin into 50g each. (the skin weight may be vary depends on the size of the mould that you're using). Wrap in some fillings.

Press mooncake into the mould. Tap lightly to unmould. Refrigerate.


This is the first time he plays lantern. He was so worry that the candle inside will burn the lattern.


* If you couldn't find the Cooked (Glutinous) Rice Flour in the store. You can DIY. There are two ways of processing your own Cooked (Glutinous) Rice Flour:
i.   Oven: wrap (glutinous) rice flour with aluminium foil. Place it into preheated oven, bake in 300F for 20 mins.
ii.  Stove: fry the rice flour in a pan until it turns yellowish


Here's some pictures from last year...

Traditional mooncake - I made everything from scratch including the salted egg :))

Plain Snow Skin mooncake
uncooked traditional mooncake


Friday, August 19, 2011

Cinamon Rolls


My photography skills still at the bottom level. But I'm very please with this photo.

I always wonder what it takes to be a good photographer. Last year I took the beginner Photography course, wanting to learn the basic skill for using and taking pictures with my Canon DSLR. I am no pro, still a beginner. Good photographer 'acquired' the good eye. I don't have the eye and creativity in my photos. As far as that is concerned, I need to work on my food photography and styling technique to make my photos more interesting.

Hot buns with a sticky sweet glaze and a cup of Hazelnut coffee...hmm-mmm. I like cinnamon buns, but the ones from the store or bakery are way too sweet for my taste. This recipe has just the right amount of sugar and easy to make.

Hope you all like it too! Enjoy!

Cinnamon Rolls

Sweet Yeast Dough:
4C all purpose flour
8g instant yeast
1/3C granular sugar
75g butter, room temperature
2 large eggs
1C sour cream
1tsp salt
1tsp vanilla essence

Filling:
3/4C packed brown sugar
1/2C butter, softened
2tbsp ground cinnamon (i like to add more)

Cinnamon Glaze:
1C icing sugar
1/4tsp cinnamon
1/2tsp vanilla
1-2tbsp milk

Steps:

1.   Melt butter and let cool.


2.   In a large bowl, whisk together eggs and sour cream. Let stand until room temperature, about 20 mins. Whisk in butter, salt and vanilla.
3.   Mix the dry ingredient together (yeast, sugar and flour) in the mixing bowl.
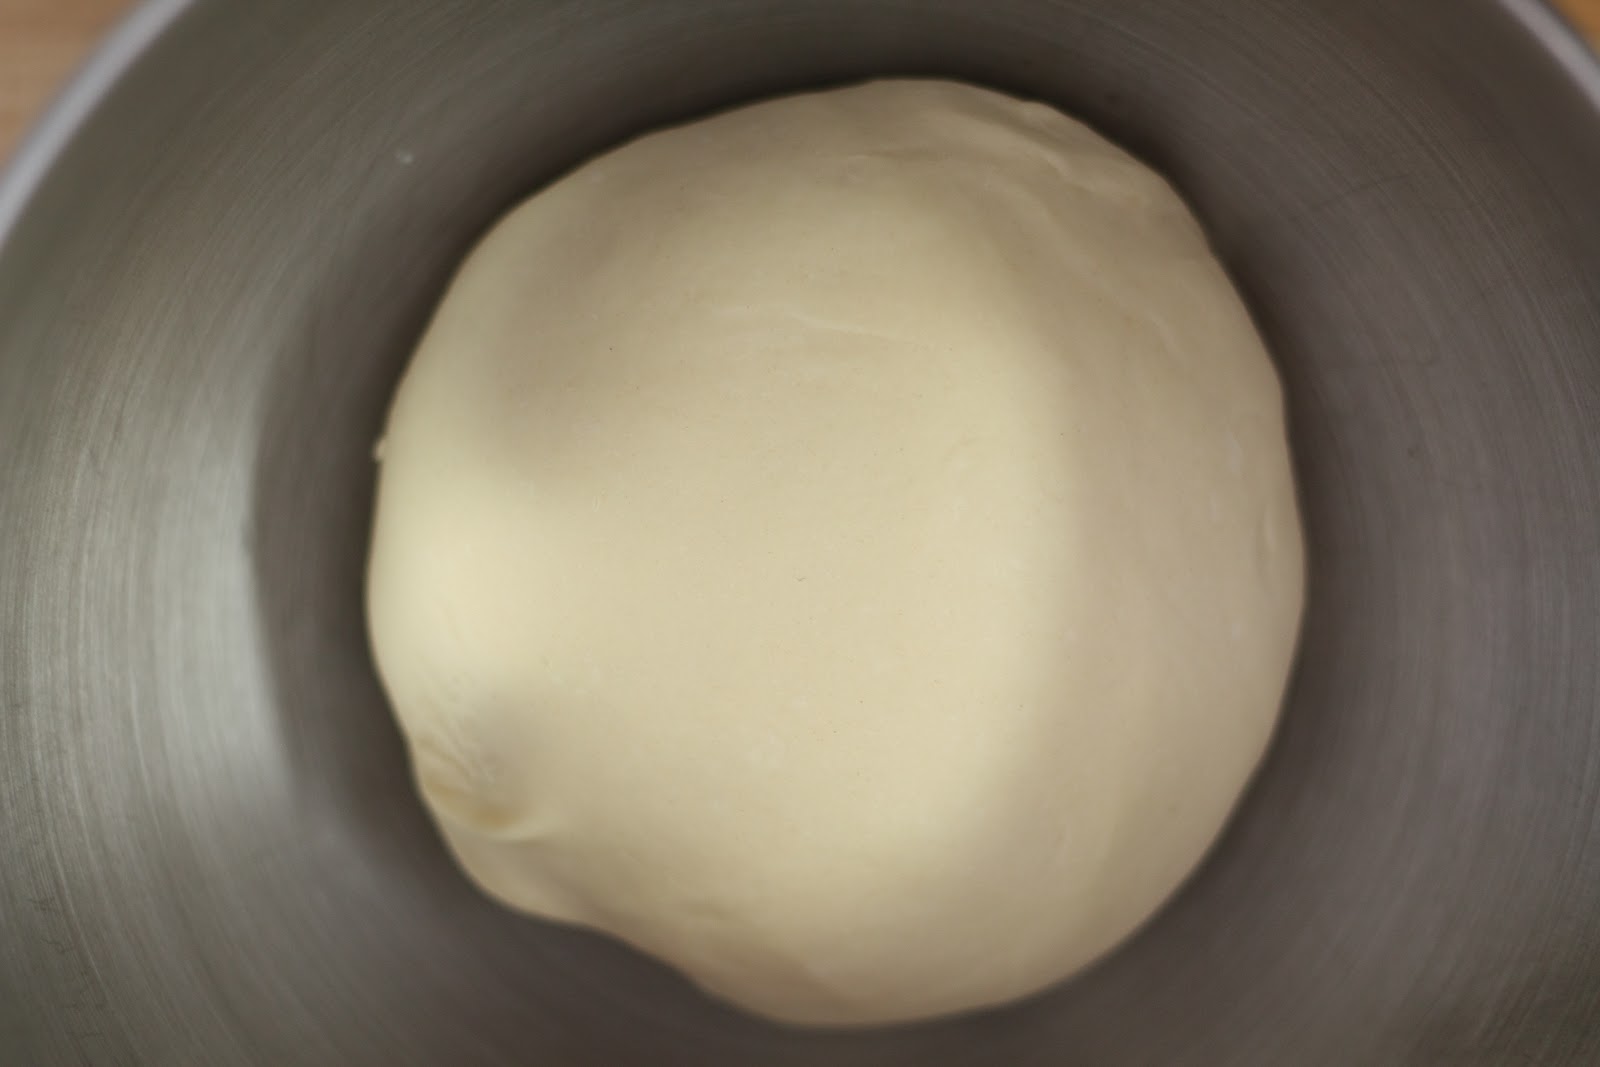
4.   Using electric stand mixer fitted with hook attachment, slowly stir in egg mixture to make soft, slightly sticky dough. Beat the dough in high speed  until dough is smooth and elastic, about 10 mins.


5.   Place dough in large buttered bowl; turn dough to grease all sides. Cover and let rise in warm place until doubled in bulk, 1 to 1.5 hours.
6.   Press dough to flatten. Cover and let rest for 10 mins to get rid of its elasticity.
7.   Butter a 13x9 inch metal cake pan, set aside.
8.   In bowl, mash together brown sugar and cinnamon, set aside.
9.   On floured counter, roll out dough to 12x24 inch rectangle. Spread butter evenly over dough, leave 1/2 inch border on one short end unbuttered. Sprinkle sugar mixture evenly over buttered dough. Press filling gently with metal spatula.


10.  Roll up, starting at short end opposite unbuttered end. Pinch dough to seal seam. Cut into 12 equal slices; arrange cut-side up in prepared pan.


11.  Cover with plastic wrap. Let buns rise in warm place until doubled in bulk, about 1.5 hours.
12.  Bake in centre of 375F oven for 30 mins.


Cinnamon glaze: in bowl, whisk together icing sugar and cinnamon. Wisk in vanilla and enough milk until glaze is think enough to drizzle. Drizzle over warm buns for a glazed look. For visible drizzle look, let buns cool before drizzling.

To make sticky-top cinnamon buns: while dough is resting, before filling and rolling, heat 3/4C butter with 3/4C packed brown sugar in saucepan over medium heat, whisking until no longer granular. Pour into buttered baking pan. Arrange cut buns evenly over sugar mixture. Bake as directed. Remove from oven and turn out onto rack positioned over rimmed baking sheet or tray. Leave, bottom side up. Scrape any syrupy goo from the bottom of the pan over the buns. Omit cinnamon glaze.


Tuesday, August 16, 2011

Oreo Cookies


Who doesn't like Oreos? We all love Oreos, the only different is everyone have their own way of eating Oreos, what is yours? Twist it open, lick the cream, dip it in the milk... Whatever way you choose, there is no correct way of eating it.

Oreos and milk make the perfect couple. Now, I'm enjoying my oreos and a cold glass of milk…nom, nom, nom.

Enjoy!


Homemade Oreos

You'll need:
2 & 1/2 C all-purpose, unbleached flour
1/2 C dutch-process cocoa

1/2 tsp coarse salt
1 C unsalted butter
1 C sugar
1 egg
1 tsp vanilla


Steps:

Preheat oven to 350. Line baking sheets with parchment paper.

Whisk together the flour, cocoa, and salt; set aside.

Cream together the butter and sugar until light and fluffy. Beat in the egg and vanilla until well combined.

In 3 additions, add the flour mixture at low speed. Scrape down sides and bottom of bowl as needed.


Roll the dough on a lightly floured and cocoa-ed surface. (I mixed the 2 of these, then spread on my rolling surface, on my rolling pin, and used it to dip my cookie cutters.)

Cut the cookies with a cookie cutter, freeze cut cookies for five minutes.


Bake 8-10 minutes. Let cool completely.


Cream Filling


2 tsp unflavored gelatin powder
2 tbsp cold water
1/2 C shortening
1 tsp vanilla
2 &1/2  powdered sugar

Combine the gelatin and water in a small bowl or cup.  Place the cup into a larger bowl of hot water and leave it there until the gelatin is completely dissolved and liquid transparent.

Remove the cup from the hot water and let the liquid cool to room temperature, but hasn't begun to set...about 5 minutes.

Meanwhile, in a medium bowl, beat the shortening with a paddle attachment until fluffy.  Beat in the vanilla.  Add the sugar a little at a time, beating until the mixture comes together.  Scrape the bowl as needed.  Beat in the gelatin.  Use immediately, or store, well-wrapped at room temperature.


To make the sandwiches, flip one cookie over.  Make a teaspoon-sized ball of filling and place on upside-down cookie.  Press another cookie, right-side-up, down on top of it.


Monday, August 15, 2011

A pinch of... rosemary


Never thought I’d like to have herbs in my baking. One day, my co-worker offered us – Rosemary cookies. I gave her a disgust face expression. After trying, I actually like the buttery taste with rosemary fragrant.

Rosemary is a popular herb that can be found in many culinary as seasoning or ornament.

Here, my very first dessert with herbs – Rosemary Butter Cookies. Again, this is another simple recipe to try.

Enjoy Baking!

Rosemary Butter Cookies
adapted from Martha Steward

You'll need:

1 C unsalted butter, softened
3/4 C granulated sugar
1 large egg
1 tsp pure vanilla extract
2&1/2 C sifted all-purpose flour
1 tbsp finely chopped fresh rosemary
3/4 tsp coarse salt

Steps:
Put butter and granulated sugar in the bowl of an electric mixer fitted with the paddle attachment; mix on medium speed until pale and fluffy, about 2 minutes. Mix in whole egg and vanilla. Reduce speed to low. Add flour, rosemary, and salt, and mix until combined.


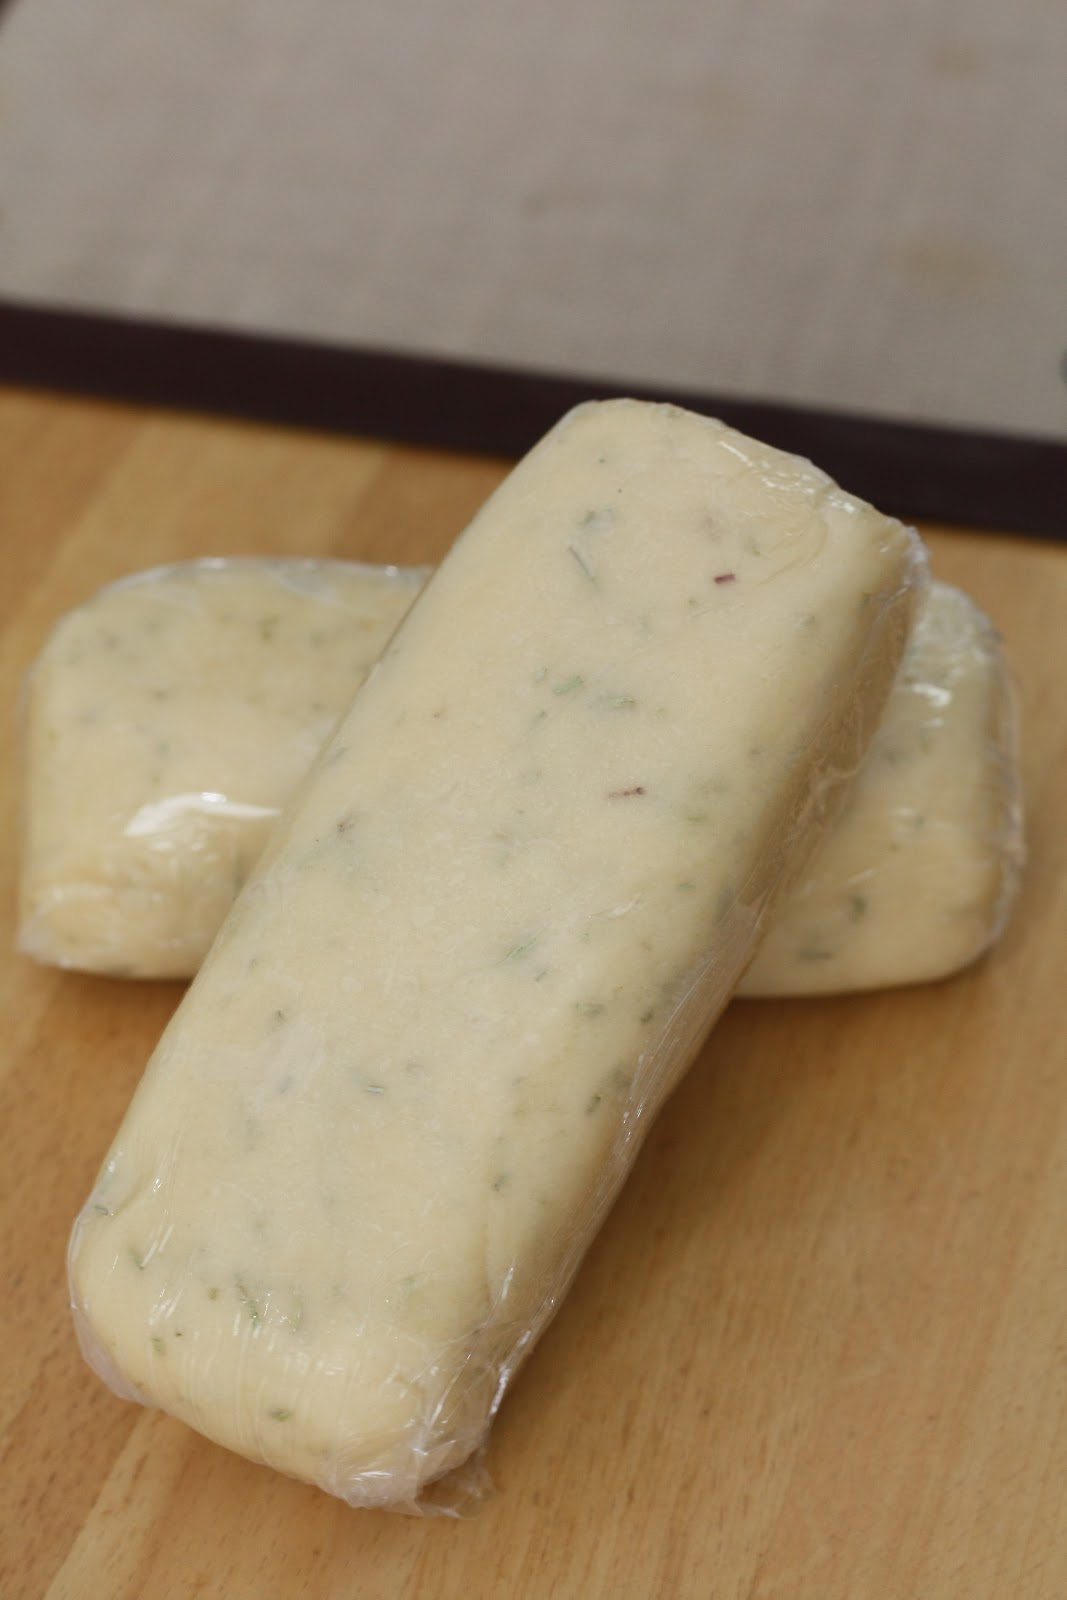
Halve dough,  shape each half into a log. Place each log on a 12-by-16-inch sheet of parchment. Roll in parchment to 1 1/2 inches in diameter, pressing a ruler along edge of parchment at each turn to narrow log. Transfer to paper-towel tubes to hold shape, and freeze until firm, about 1 hour.


Preheat oven to 375.

Cut into 1/4-inch-thick  and space 1 inch apart on baking sheets lined with parchment. Bake until edges are golden, 18 to 20 minutes. Let cool on sheets on wire racks. Store.


Note: Whenever possible, choose fresh rosemary over the dried form of the herb since it is far superior in flavour.